How to make photos light and airy in Lightroom
There is no doubt the light and airy look has become a popular choice for photographers, particularly for portraits and weddings. But how exactly do you make photos look light and airy in Lightroom?
Today we will show you how to do just that, plus how to set yourself up for success before you even take the photo.
Capturing the Light and airy photography style
Before we discuss editing the image, let’s take a step back and look at what makes professional light and airy images look so appealing in the first place. Spoiler: It starts with capturing the right images straight out of the camera.
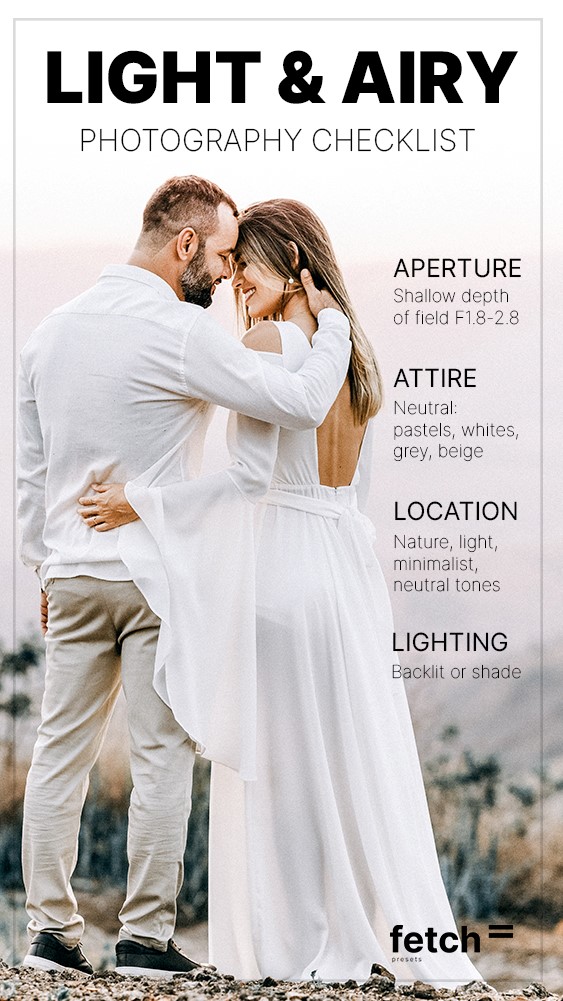
Here is what to consider when taking great light and airy images:
1. Lighting and Time of Day
2. Depth of field
3. Attire
4. Location
1. Lighting for Light and airy photosl
First and foremost, the majority of light and airy images are shot in natural light. While you may discover some exceptions to this rule, a natural daylight setting provides the best backdrop for this particular style.
To achieve this look, you want to have the subject of the photo either back lit (with the sun behind the model) or aim for a flat, evenly lit image – a shady outdoor area will work perfectly.
Be sure to avoid harsh sun or night time scenes. Also avoid lighting situations that cause both overexposed and underexposed areas of the photo as light and airy images don’t contain a lot of contrast.
2. Depth of field for Light and airy images
Most often light and airy images are associated with a very shallow depth of field. This helps give the images a nice dreamy look, while removing distracting elements of the background.
To truly pull off this style of photography, the lens choice is really important here. Use a lens that has a wide aperture, ideally between f1.2 to f2.8 if possible. While not necessary, using a telephoto lens (such as a 85mm lens or higher) can also help with achieving the desired effect.
3. Attire for Light and airy images
When looking at clothing for light and airy images, be sure to keep it simple. Work with neutral tones, pastels, beige, white, grey, etc. if possible.
Avoid wearing clothing that is all dark, contains busy patterns, large logos or intricate designs as they can be distracting. The idea is to draw the eye of the viewer to the subject of the photo, not the busy elements surrounding them.
4. Location for Light and airy images
The light and airy look is often associated with outdoors and nature such as a bright garden or country side. An industrial or urban scene will be difficult to pull off this look. Likewise, indoor shoots will be more challenging, however not impossible if the space is filled with a lot of natural light and contains a simple clean background.
Be sure to keep the background of the image minimalist, with little to no distracting elements, plenty of light and neutral tones.
Here are examples of images that are ideal and not ideal for the light and airy look:
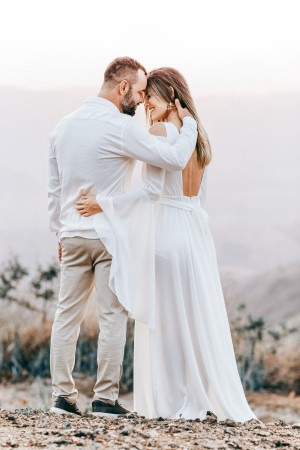
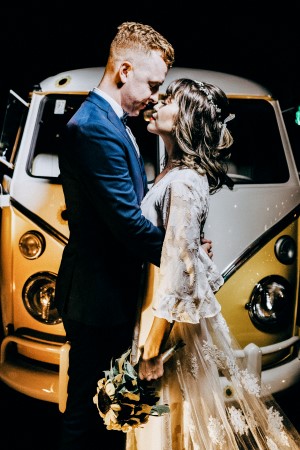
Ideal for Light and Airy
✓ Bright, nature setting with neutral tones
✓ Natural, soft, even light
✓ Little contrast
✓ Back lit
✓ Shallow depth of field
✓ Subtle backdrop with no distracting elements
✓ Attire is light and neutral with no busy patterns
Not Ideal for Light and Airy
× Dark environment
× Use of flash
× Heavy contrast
× Lit from the front of the subjects
× Under and over exposed areas of the image creating too much contrast
× Depth of Field not shallow enough
× Busy and distracting background
× Lack of a bright and natural backdrop
Attire meets the criteria, however a white or lighter color jacket on the groom would be better
Light and Airy Lightroom Settings
So now that we know how to take a light and air photo, let’s have a look at the light and airy Lightroom settings.
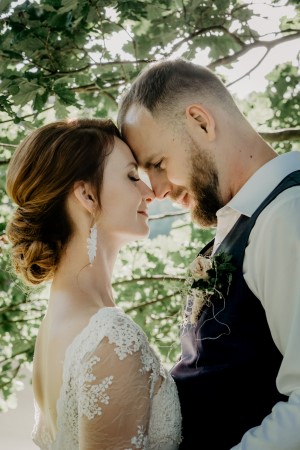
The easiest way is to simply copy the Lightroom presets directly from photos that you have seen and love using Fetch Presets (yes, we had to take this opportunity for shameless self promotion). Fetch users can simply fetch the Lightroom preset from the ‘after’ image below. Otherwise you can continue reading the following Light and airy editing instruction
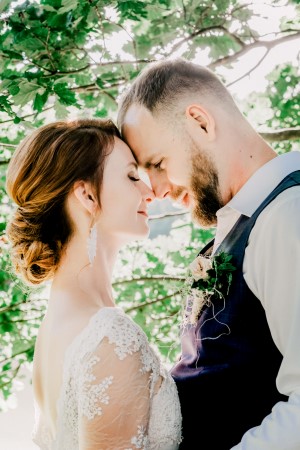
Step One: Color Balance
Ensure your color balance is nice and even. If your image is outdoors, you may want to add just a touch of extra yellow to give it a nice warm feeling.


Step Two: Exposure
Light and airy images are known to give a bright, positive feeling. Increasing the exposure to the point just before your subject becomes overexposed will give it the desired look.
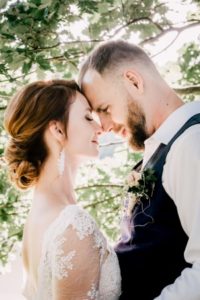

Step Three: Highlights and Whites
Since we pumped up the exposure, let’s bring down the highlights and whites to recover some of the detail in the brighter areas of the image.
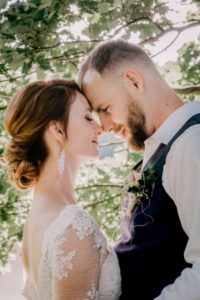

Step Four: Shadows and Blacks
Now, let’s raise the shadows and blacks to recover some of the hidden detail and reduce the contrast of the photo.
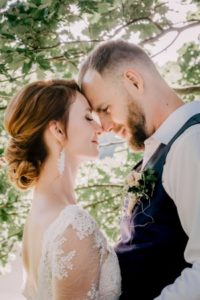

Step Five: Clarity
Let’s add a touch of clarity so we don’t lose all the detail in the subjects.

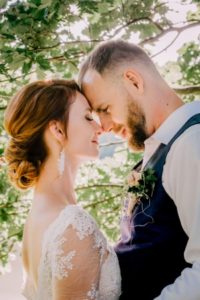
Step Six: Saturation
This may be a little contentious, but I prefer my light and air images to have a bit of color pop. So bring the saturation all the way up to +25, however this can be done to taste. At this point your subjects skin tones will probably look comically bad, but don’t worry we will fix this in just a moment.
![]()
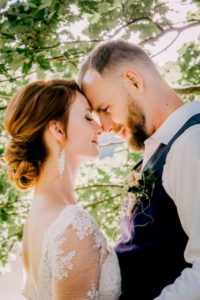
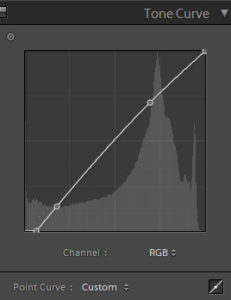
Step Seven: Tone Curve
Time to raise the mid-tones and highlights a touch and bring down the shadows for some subtle contrast.
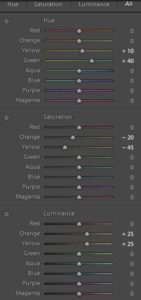
Step Eight: Luminance, Saturation and Hue
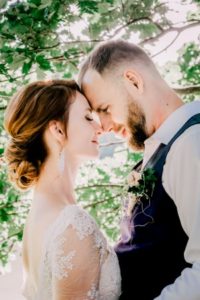
Start with lifting the orange and yellow sliders in the Luminance panel to brighten up the skin tones.
Bring down the saturation sliders on the orange and yellow (to -20 and -45 respectively) to even out the skin tones, so our couple doesn’t look like they have a bad fake tan.
And to make the foliage appear more green, the light and airy look will often shift the yellow and green sliders to the right, which can create a dramatic change to the look and feel of the image.
Step Nine: Extra Touches
Time to put on the finishing touches.
Let’s add a little sharpening +25.
Enable Profile Corrections and remove any vignetting to brighten up the edges of the image.
Light and airy images are often synonymous with film, so adding a healthy dose of grain will give it that nice texture, we added +25.

That’s it!
And that my friends is how we achieve the light and airy editing look inside of Lightroom.
Be sure to check out Fetch Presets to take the guess work out of editing styles you love and to help you achieve the look of professional editors.
